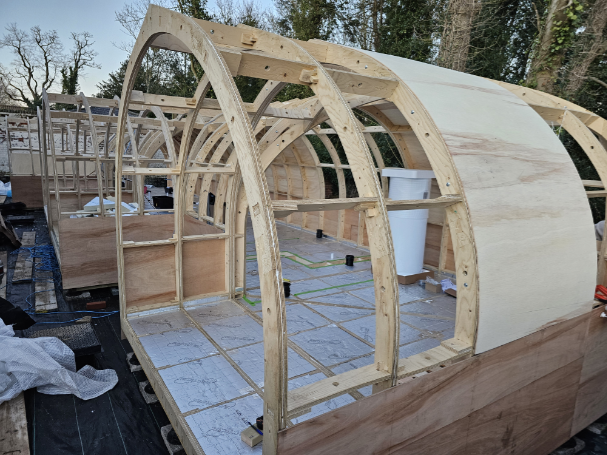
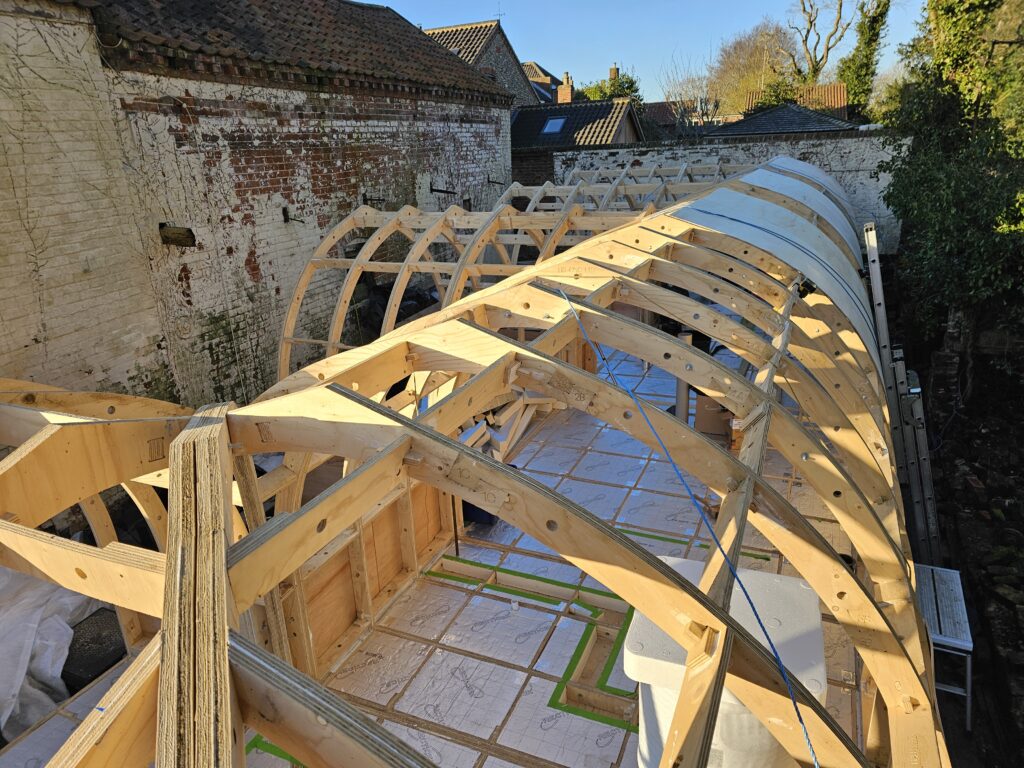
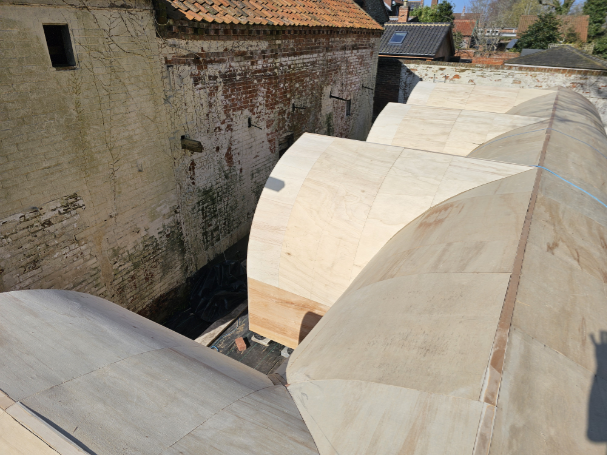
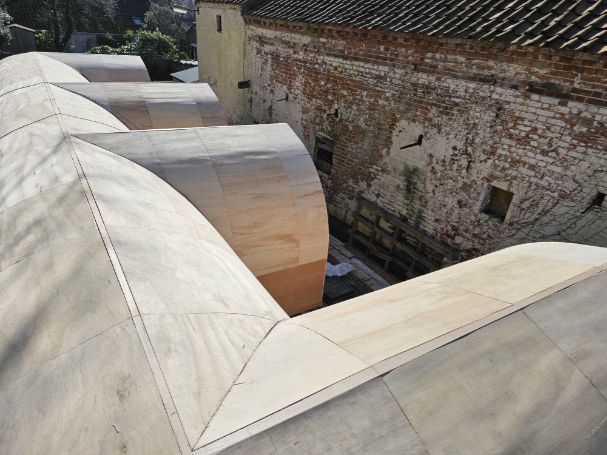
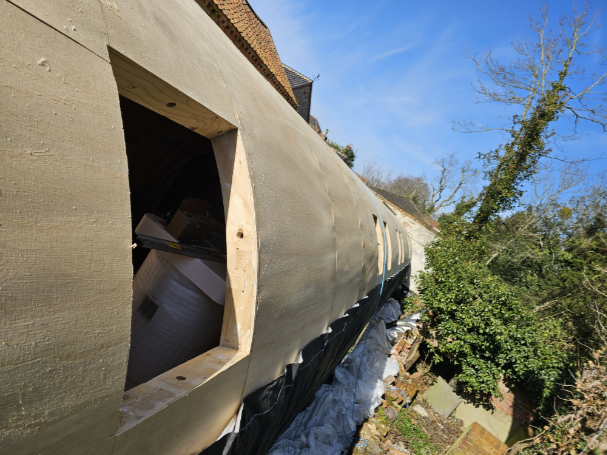
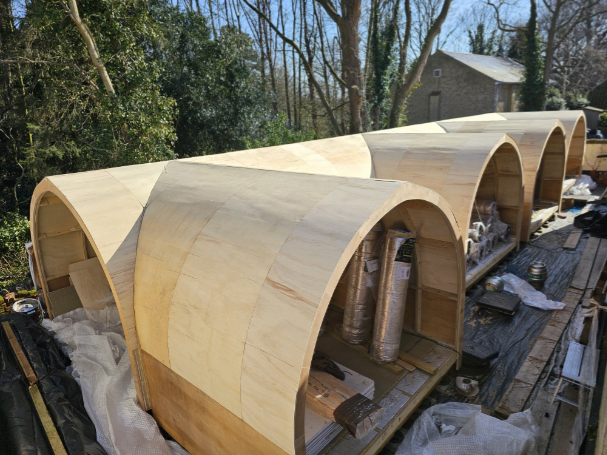
The roof is formed of a sandwich construction. The first, outside layer is formed from 8/9mm plywood. This will prevent vermin ingress into the insulated layers between the frames as well as support external insulation.
The bottom, straight section is relatively straightforward and constructed using standard 9mm plywood sheets.
For the curves we need a special ‘flexible plywood’.
Flexible plywood (or flexi-ply) is a specialized, thin plywood designed to bend easily into tight curves without cracking, making it ideal for our pods. It is constructed with three alternating or single-direction grain veneers, in our case 8mm thick, allowing it to flex along the grain.
It is available in long-grain (bends along the 2440mm length) or cross-grain (bends along the 1220mm width); we needed the former.
The flexi-ply is available in standard 8’ x 4’ sheets.
As the frame spacing varies slightly from one pod to the next, and also inbetween, the first sheets were positioned to optimise material use and reduce the number of cuts required.
The rear of the pods was relatively straightforward, with rapid progress being made.
In the roof valleys, there was the complexity of compound curvatures. Cardboard templates were used to transfer the required outline to the flexi-ply. These could be re-used for the repeating formations.
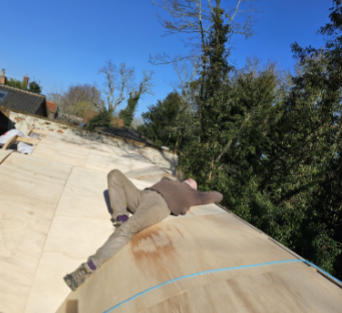
It’s exhausting work – time for a quick break!
A narrow flat/level section was required along the apex; this would form a better foundation for the ridge.
Apertures were cut to allow for the Velux windows.